Unlock your monitor's hidden potential with advanced EDID configuration. Create custom resolutions, boost refresh rates, and optimize your display settings with this powerful Windows utility.
Custom Resolution Utility is a specialized Windows application designed for users who need precise control over their monitor settings. Whether you're a competitive gamer seeking higher refresh rates, a content creator requiring specific resolutions, or an enthusiast pushing hardware limits, this tool provides the flexibility you need.
The software works by modifying EDID (Extended Display Identification Data) directly in your Windows registry, eliminating the need for complex driver modifications or .inf file editing. This approach ensures compatibility across AMD, NVIDIA, and select Intel graphics processors while maintaining system stability and security.
With support for detailed resolution timing, extension blocks, FreeSync configuration, and HDMI audio settings, CRU offers professional-grade features in an accessible package. The intuitive interface guides you through the process while built-in safety mechanisms protect against configuration errors.
Everything you need to take full control of your monitor configuration
Define exact pixel dimensions, refresh rates, and timing parameters. Create unlimited custom resolutions tailored to your specific needs and hardware capabilities.
Modify Extended Display Identification Data directly in the Windows registry. No driver patches or system file modifications required for safe operation.
Compatible with AMD Radeon, NVIDIA GeForce, and Intel graphics hardware. Works with both desktop cards and mobile integrated graphics solutions.
Integrated driver restart utility applies changes immediately without full system reboot. Includes automatic recovery mode for failed configurations.
Push your monitor beyond factory specifications. Safely test and implement higher refresh rates for smoother motion and reduced input latency.
Access extension blocks, timing parameters, FreeSync ranges, HDMI settings, and audio configurations for complete display control.
Follow this straightforward process to configure your custom resolutions
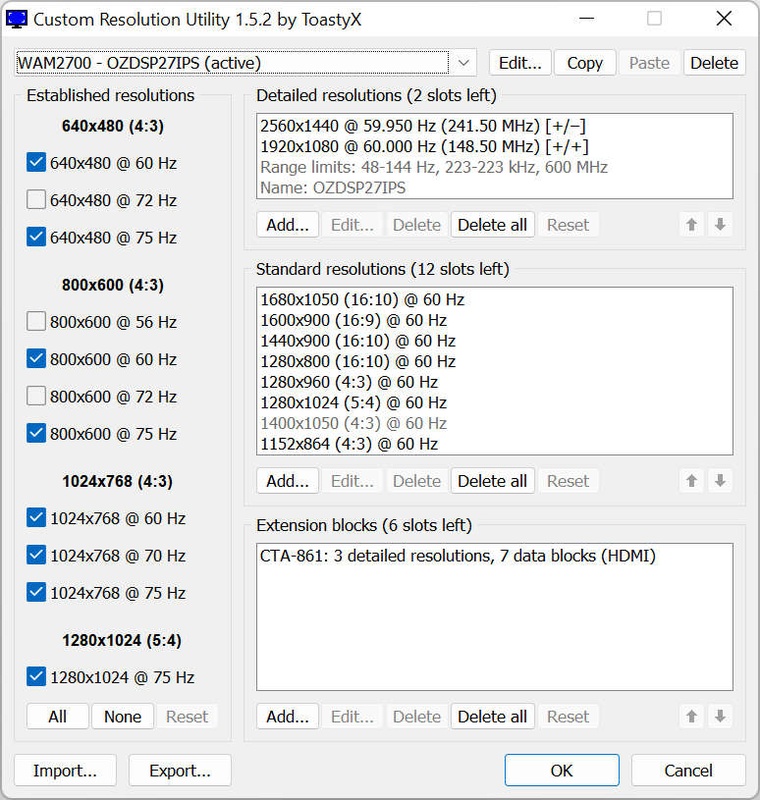
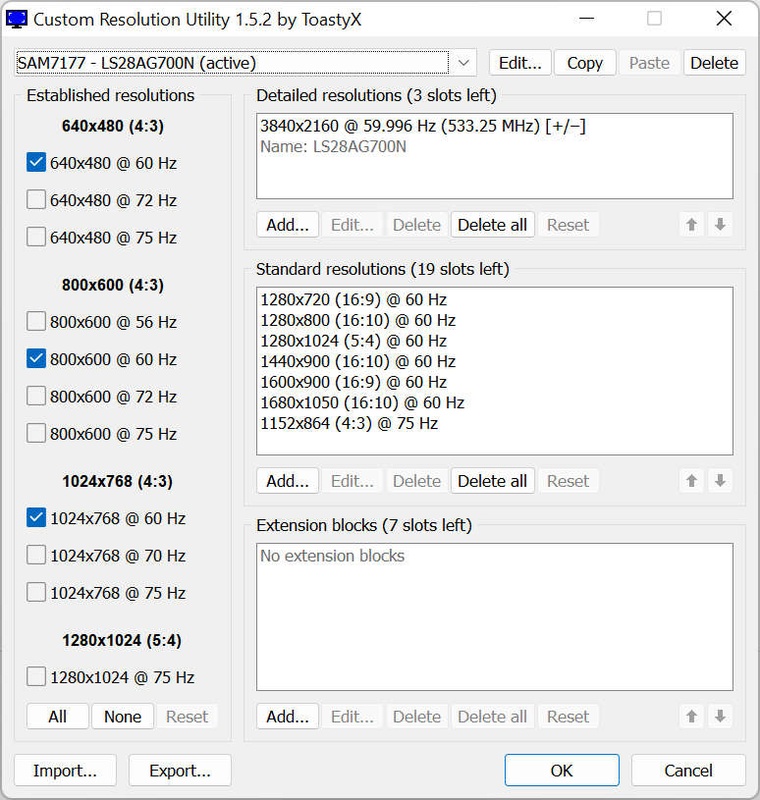
Start CRU.exe and choose your target monitor from the dropdown menu. The application detects all connected displays automatically. Active monitors are marked for easy identification. You can manage multiple displays independently, with each configuration saved separately in the registry.
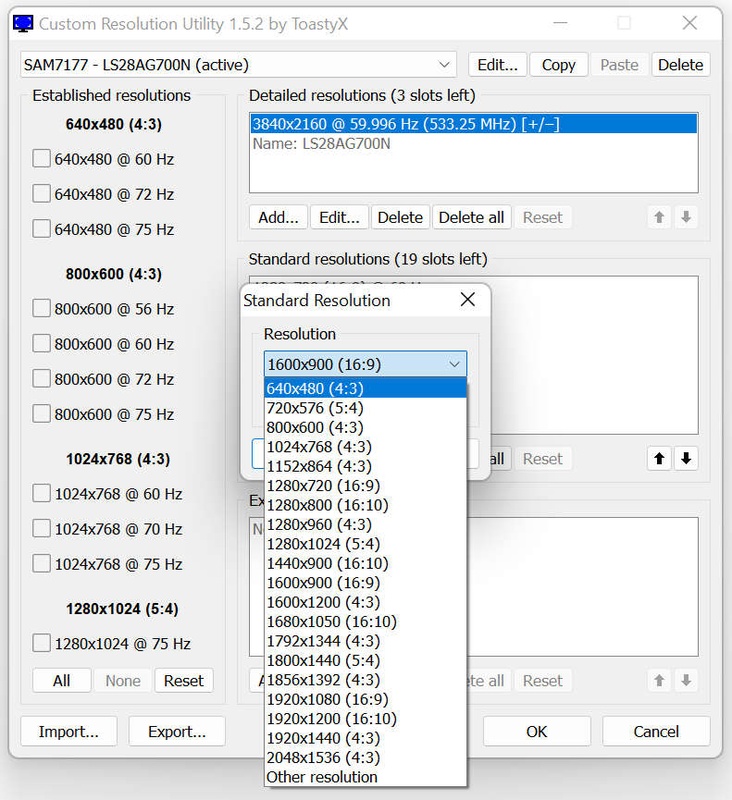
Click Add to create a new detailed resolution entry. Specify your desired width, height, and refresh rate values. Choose from automatic timing modes (LCD standard, native, or reduced) or manually configure all timing parameters including front porch, sync width, and back porch for advanced users.
Save your configuration and execute the restart.exe utility to reload the graphics driver. This process takes only seconds and applies your EDID overrides without rebooting. If display output fails within 15 seconds, press F8 to activate recovery mode and restore functionality.
Open Windows display settings to find your new custom resolution in the available options list. Select your configuration and apply it. The custom resolution integrates seamlessly with Windows, appearing alongside standard resolutions in both system settings and graphics control panels.
Explore the interface and understand how everything works
Clean, organized workspace showing monitor selection, current configuration, and all management tools. Every connected display is automatically detected and listed with clear status indicators.
Advanced editor with full control over timing parameters, pixel clock, and blanking intervals. Choose automatic modes for quick setup or manually fine-tune every value for optimal results.
Dedicated restart utility that applies configurations in seconds. Built-in recovery system automatically activates if problems occur, ensuring you maintain display access at all times.
Custom resolutions appear natively in Windows display settings. No special software needed to switch between configurations - everything works through standard Windows controls.
Most monitors ship with conservative default configurations that don't showcase their true capabilities. Custom Resolution Utility enables you to explore settings beyond manufacturer specifications. Increase refresh rates for competitive gaming advantages, implement non-standard aspect ratios for specialized workflows, or create resolutions perfectly matched to your use case requirements.
The tool serves multiple user groups effectively:
The software includes multiple protection layers. Recovery mode prevents permanent lockouts from incompatible settings. The reset-all utility restores defaults with a single click, even from Windows Safe Mode. All modifications exist in registry entries only - your hardware remains untouched. Modern displays have built-in protection circuits that reject invalid signals, providing an additional safety layer.
Complete source code availability ensures full transparency. Security-conscious users can audit every function before installation. The active community contributes improvements and shares configurations. No licensing fees, subscription costs, or feature restrictions - all capabilities are freely accessible to everyone.
Get started with display configuration in under five minutes
Full installation package including CRU.exe, restart utilities for 32-bit and 64-bit systems, reset-all tool, and example extension block files. Everything required for immediate use.
Safe download - No malware, no bundled software, no registration required
Find answers to common inquiries about Custom Resolution Utility
Yes, CRU is entirely safe. It modifies only Windows registry entries containing EDID override information. Your hardware remains unchanged. All configurations are reversible, and the software includes built-in recovery features. The reset-all utility can restore factory defaults even when booted into Safe Mode, ensuring you always maintain system access.
Modern monitors include protection circuits that prevent damage from incompatible signals. If a configuration exceeds your monitor's capabilities, the display will show "no signal" or reject the input rather than suffering damage. However, you should start with conservative settings and test incrementally. Most monitors handle moderate overclocking without issues.
No full system reboot is necessary in most situations. The included restart.exe utility reloads only your graphics driver, applying changes within seconds. A complete system restart is only required in rare circumstances or when using the reset-all utility to remove all configurations at once.
Compatibility depends on your laptop's graphics hardware. Systems with discrete AMD or NVIDIA GPUs typically work well. Intel integrated graphics from 4th generation (Haswell) and newer are supported with appropriate driver versions. Laptops with switchable graphics may have limited compatibility depending on the specific configuration.
Many monitors successfully operate at refresh rates beyond their advertised specifications through a process called overclocking. Results vary significantly by monitor model and panel type. Start with small increments of 5-10Hz above the default rate and test for stability. Some monitors achieve substantial increases while others have minimal headroom.
Wait 15 seconds and press F8 to trigger recovery mode, which temporarily disables all EDID overrides. If this doesn't restore your display, restart your computer into Safe Mode and run the reset-all.exe utility to remove all custom configurations and return to factory defaults.
Join thousands of users who have unlocked their monitor's full potential
Get Custom Resolution Utility Free